Chuck(G) wrote:Here's a suggestion that might at least ameliorate the damage--at worst, it won't harm anything. Get some 000 steel wool and polish the slides--this stuff is too fine to scratch or remove material, but it will burnish out some of the unevenness. Clean everything up carefully-- get every last bit of steel wool and leftover sandpaper grit and dirt out of your slides and lubricate.
Chuck, I wouldn't use steel wool. Some of the steel fibers will embed themselve into the brass, defying any subsequent cleaning. Steel wools is really only good for rubbing on iron/steel or harder surfaces.
Instead, use the finest Scotchbrite pads if you want to go that way. But I wouldn't even do that. I'd use 1000 emery cloth, very lightly and just enough to shine it up a bit. This is strictly a damage-control measure.
There is no shortcut. To make a slide that the movement is controlled by the lubricant viscosity and not by friction, the tubes have to be round, straight, and parallel, as Dan says, within a thousandth.
But you can get a usably moveable slide at a lower standard than that. Check for roundness and straightness by:
1. Do your damage control with 1000-grit emery cloth.
2. Clean both inner and outer slides very thoroughly to remove all traces of grit, dirt, and old grease. You'll need a degreaser, cheesecloth, a cleaning rod, followed by dish soap and water.
3. Apply light oil to the slide. The lighter the better. Valve oil works for this.
4. Insert each leg into the outer slide separately. If there is any binding with a straight insertion, either the inner or outer tube is not straight. You can't fix this without very good skills and tools, so don't even try.
5. If it inserts without any binding or increase in friction, try turning it after full insertion. If there is any binding on turning, then either the inner or outer slide is not round, or there is a dent that you have missed. Again, you can't fix this without very good skills and tools, so don't even try.
6. If you can insert and turn each leg reasonably, then lay the slide down on a hard, flat surface. A polished stone counter top works pretty well--if your reflection has no waviness or distortion, it's flat enough. Let the crook hang out over the edge so that it's just the inner tubes laying on the counter top. If the tubes rock on the stone, then the two slides don't lie in the same plane. They must do that first. You can adjust this with your hands by applying very gentle pressure and then checking it again. If you go too far, you'll kink the crook and then the technician you take it to will laugh at you and charge you much more to repair it, so this is a risk and you should know it. This won't work with slides that have a cross brace--period.
7. Once the inner tubes are in the same plane, get a caliper (a good one) and measure them near the tip and near the crook. The measurements must be identical. If you can't make those measurements identical while still maintain an exact match of the tips of the inners with the openings in the outers, then it's too much to make it work, and you're back to needing even more special skills and tools.
8. Test again. If the slide still binds, the outers are probably not aligned. That requires a more complicated repair.
Techs will remove the inner tubes, chuck them up on an exact-fit steel dowel jig in a lathe, and check them for roundness and straightness separately. They may use a steel dowel to check the straightness of the outer slide. Then, they jig the slide up on a stone bench and adjust the position of the inners by melting the solder and letting the slide relax in the jig. It's the same with the outers, though they may adjust and test rather than using a jig. If the other tubes are not round and straight, they will remove them and straigten them as with the inners. As you can see, doing it right requires advanced tools and skills.
My bet is that after your sanding experiment, no further lapping is required. In fact, you'll probably find that the slide falls out by itself if you get things really straight, because the sanding removed too much material.
But I have been able to make slides work reasonably well using my steps. Not perfect, mind you, but reasonable.
I followed these steps on the Missenharter, which I have named Solder Practice (second from right in this picture):
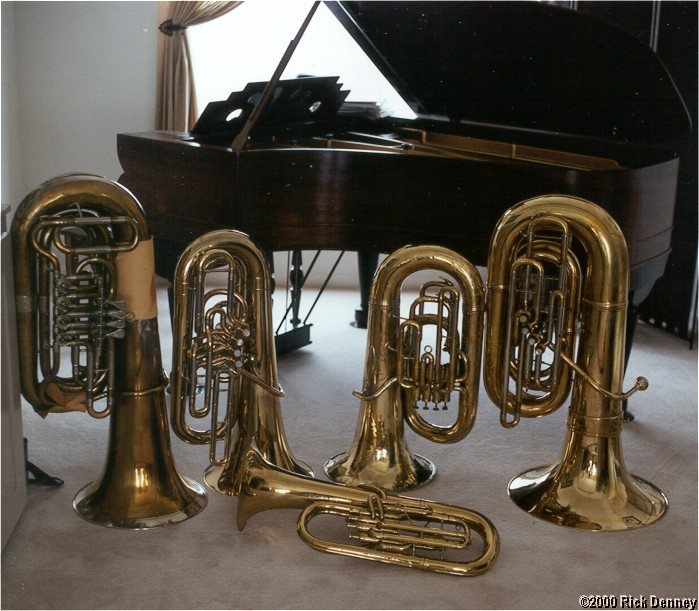
Rick "who would never do this on an instrument of any real value, including any of the other tubas in the photo" Denney