Inspired by all of the project posts...(w/photos)

The bulk of the musical talk
Post Reply
Tabor
4 valves
4 valves
Posts: 753
Joined: Thu Apr 01, 2004 11:34 am
Location: New England

Inspired by all of the project posts...(w/photos)

Post by Tabor »

The York Master

Image


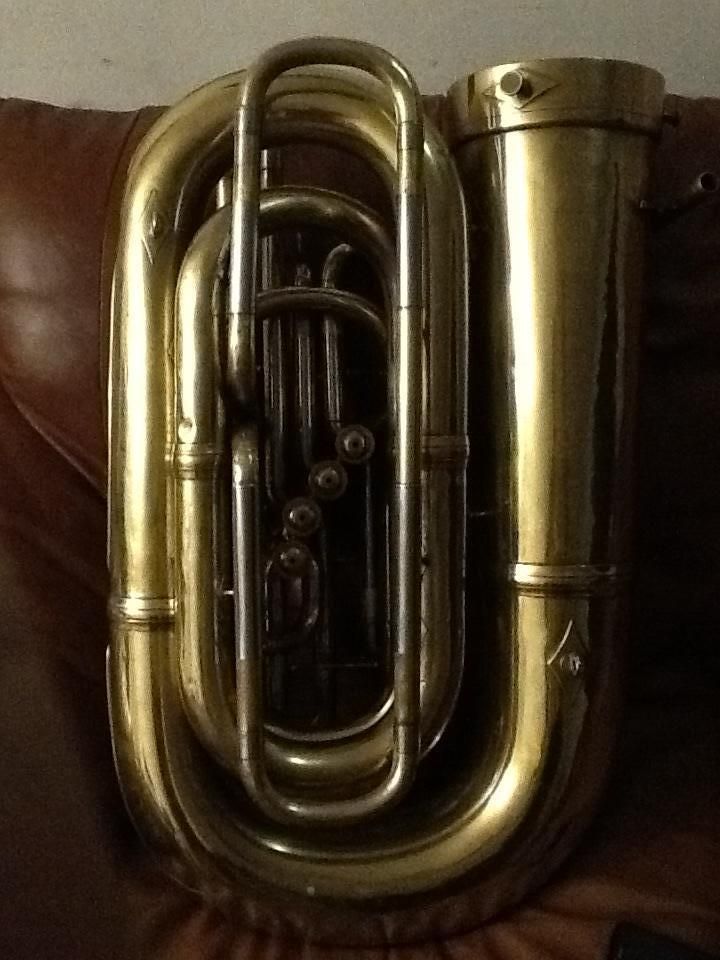
B&M did some nice things. Great valves. The Marzan wrap is very clever. The York Master is a pretty great tuba in its own regard. It sounds good, plays with decent intonation and is very even. The super long 3rd pull is fun:

Image

...and allows it to be played like a really great 3v BBb, but the wrap of the 4th valve is just no fun.

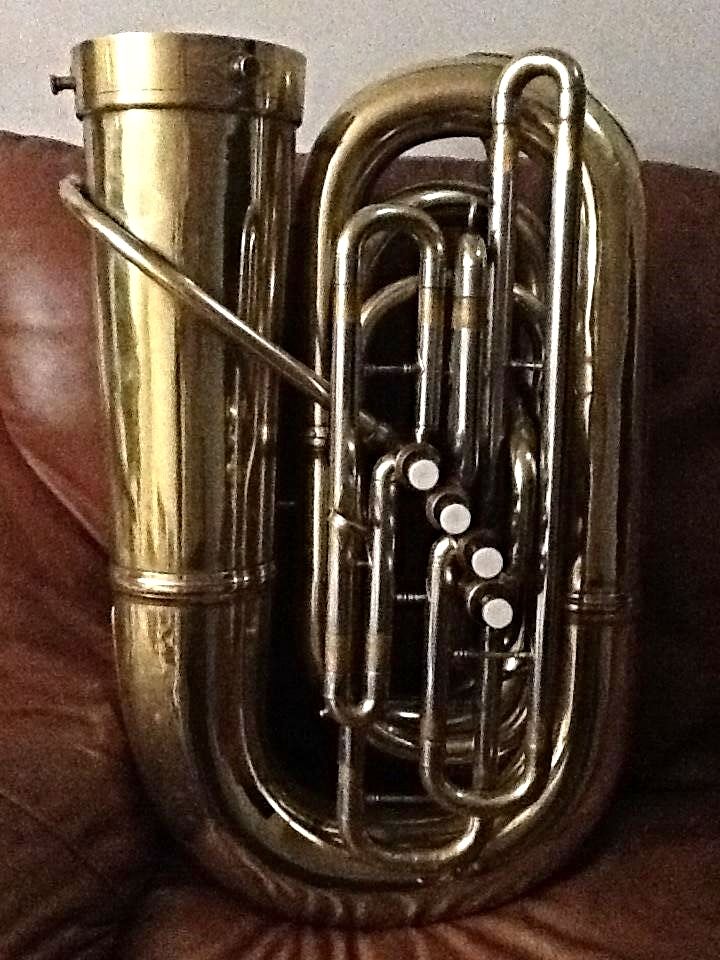
As you know, and can see from the photos, the valve block is mid-tuba, and the 4th slide on the later YM 4th wrap pulls downward only, at the rear of the tuba.

(My picture of this was deleted, perhaps someone can help me out)

and for my sound/intonation preference, the slide must be pulled past the bottom bow. A slide just doesn't belong there! It is uncomfortable, The slide frequently was pushed in by my lap, and it had been bashed almost flat by previous players who were obviously struggling with the same issue. Just flipping the whole thing around would not look right, and would stick out pretty far beyond the top bow.

I had a Miraphone 186 that featured a wonderful 4th wrap:

Image

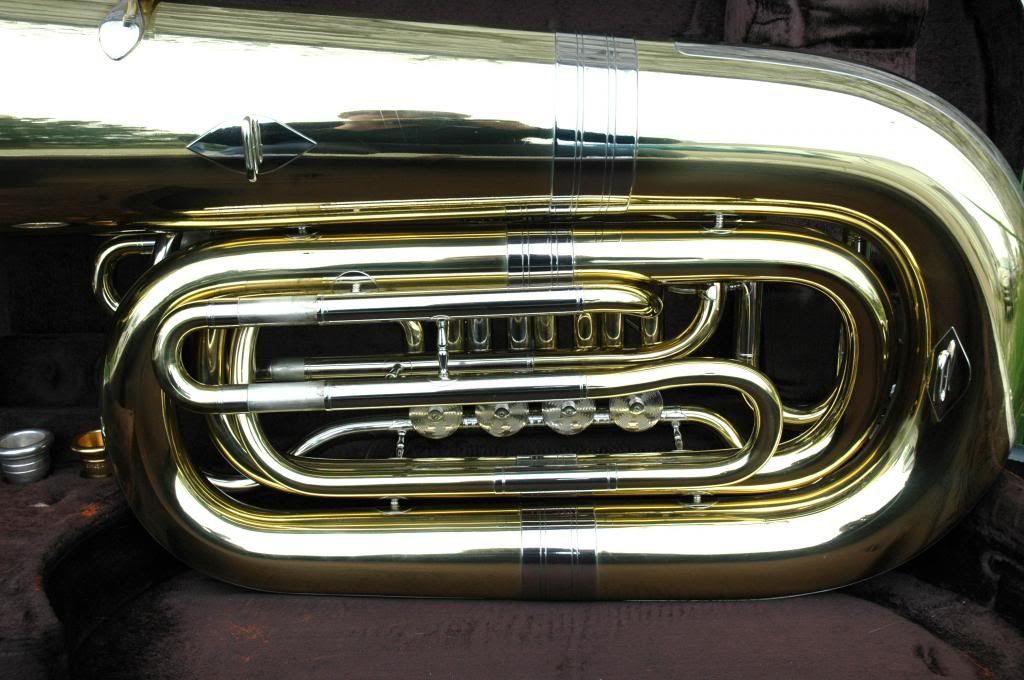
I always liked how easy it was to adjust that slide with the thumb, but I also like the YM with all working parts, so I mustered up the courage, broke out the torch and a few other tools, and....

Image

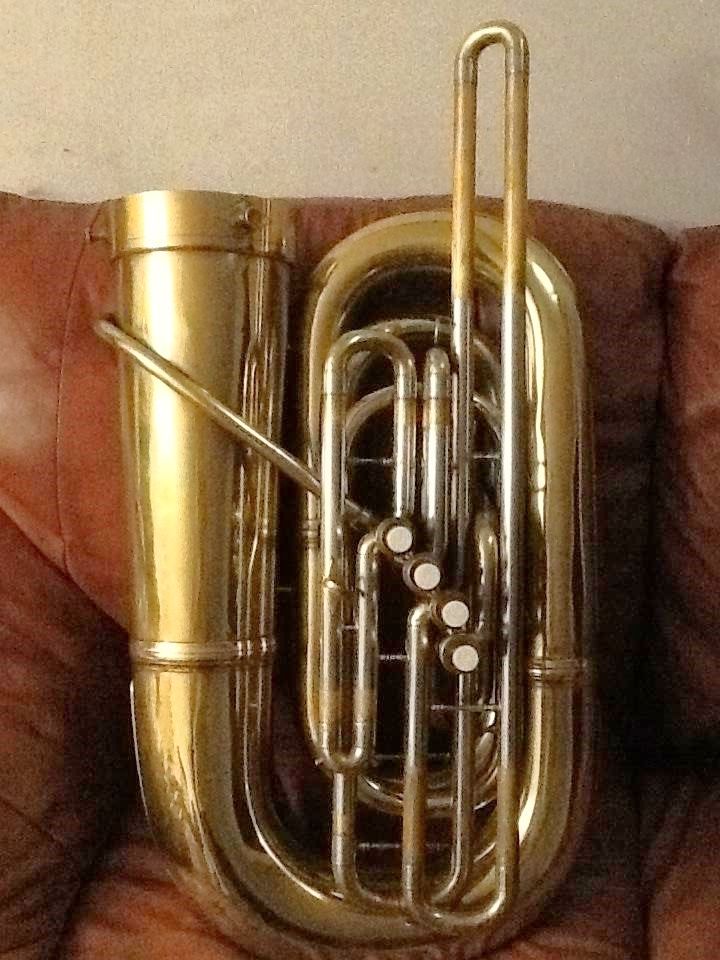
Now it has an upper and a lower 4th slide that both work well, nothing sticks out too far, and....it is part REAL York now....

Image

Where there once was a crook that was soldered on to the larger branch, a tiny York brace now resides.
Tubas
Tabor
4 valves
4 valves
Posts: 753
Joined: Thu Apr 01, 2004 11:34 am
Location: New England

Re: Inspired by all of the project posts...(w/photos)

Post by Tabor »

The one at Baltimore brass has the more York like 4th wrap. I'm really surprised that nobody has snatched that up, at its price.
Tubas
User avatar
Tubajug
5 valves
5 valves
Posts: 1712
Joined: Wed Jun 10, 2009 7:23 pm
Location: Lincoln, NE

Re: Inspired by all of the project posts...(w/photos)

Post by Tubajug »

Very nice! Did you have to re-bend any tubing or were you able to just reconfigure it with the existing crooks and tubes?
Jordan
King 2341 with a Holton "Monster" Eb bell
Eb Frankentuba
Martin Medium Eb Helicon

If at first you don't succeed, skydiving's probably not for you.
Tabor
4 valves
4 valves
Posts: 753
Joined: Thu Apr 01, 2004 11:34 am
Location: New England

Re: Inspired by all of the project posts...(w/photos)

Post by Tabor »

No, I didn't have to re-bend anything, but I did take the opportunity to get the dents out (mostly) I put some 18mm balls through the ends, which had some pretty severe dents, and did a little tapping with a dent hammer to round things out a bit. The crook on the top is slightly longer on one side than the other, but almost identical, if not exactly identical in width. (They may have been made identically, but this tuba was used in a middle school, where the kids couldn't hold it, and didn't play it much. (it was an occasional loaner after that for a community band, so it had an interesting combination of dents and not so much playing wear).

I was pretty sure it would work without any additional parts, when I started thinking about it. It looked as if there was supposed to be an upper slide, and the lower slide was way too long. I think it looks balanced now almost like a factory setup, minus my skill level putting it together, and I will not miss the fourth slide sticking out past the bottom bow.

All I had to do was some careful measuring and cutting, clean up the cuts with a small file, then a couple of fine sanding sponges type materials, use a ring mandrel to gently flare the ends of the tubes back to where they should be, un-solder everything to find the spot where the slides wanted to slide, and put it together. The crook on the top was originally just soldered to the horn, and was a little too close to clear, so I used the tiny York brace to move it out slightly. The bottom braces were moved up and re-fit to adjust to the new, slightly different angle, and then everything was put back together. I did a tiny bit of clean up on the soldering and for the torch marks with some 1000 grit, chased with 2000 grit and used a dab of Lee Stofer's favorite metal polish after that. It isn't as clean as I would like it yet, but nice enough to leave it alone for a while.
Tubas
Post Reply